
10 Photography Tips for Better Virtual Staging Results
Get the most out of AI staging with these professional photography tips that ensure stunning before-and-after transformations.
1. Shoot During Golden Hour
Natural light is your best friend. Shoot when sunlight is soft and warm—early morning or late afternoon. Avoid harsh midday sun that creates strong shadows.
Pro tip: If you must shoot midday, close blinds partially to diffuse the light.
2. Use a Wide-Angle Lens
A 16-24mm lens captures more of the room and makes spaces feel larger. Just don't go too wide or you'll get distortion that makes the AI staging look unnatural.
Recommended: 18-20mm for most rooms, wider for tight spaces.
3. Shoot from Corners
Position yourself in a corner to capture the maximum amount of the room. This gives the AI more context for furniture placement and creates more dynamic compositions.
Technique: Back into the corner as far as possible, then frame your shot.
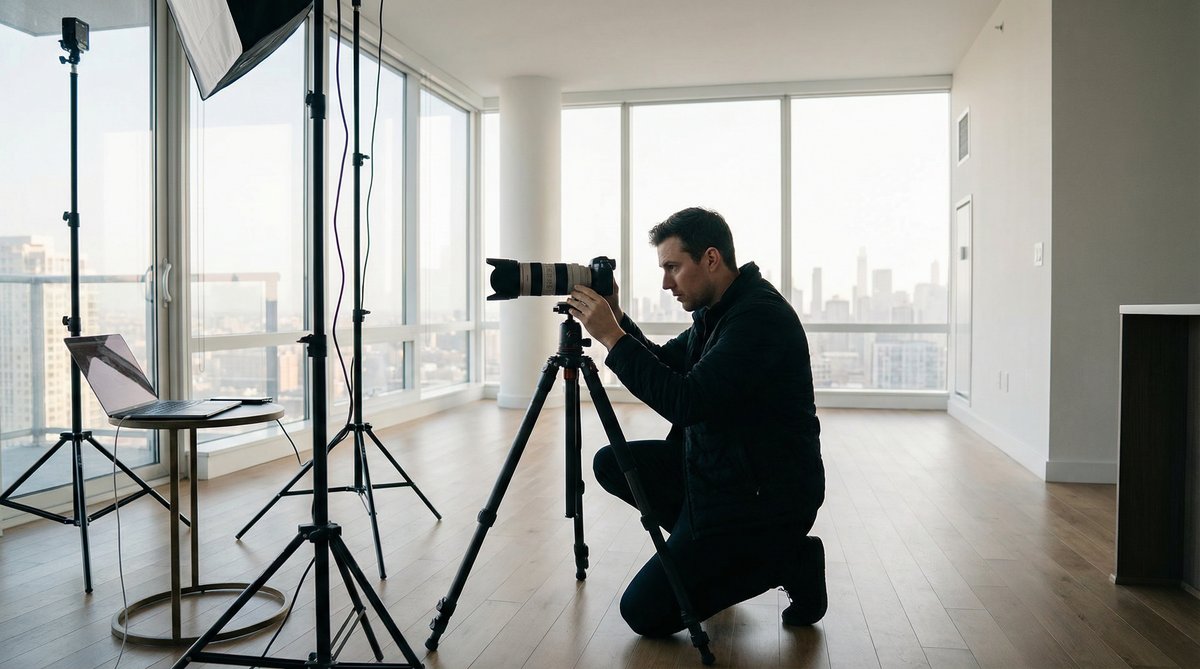
4. Keep It Level
Use a tripod and level your camera. Crooked photos make rooms look unprofessional and can confuse the AI staging algorithm. Vertical lines should be vertical.
Essential gear: A tripod with a bubble level, or use your phone's grid feature.
5. Clear the Clutter
Remove personal items, trash, and obvious clutter before shooting. While our AI can declutter, starting clean produces better results and faster processing.
Quick checklist:
- Remove personal photos
- Clear countertops
- Hide trash cans
- Tuck away cords
6. Turn On All Lights
Even during the day, turn on all interior lights. This fills in shadows and makes spaces feel warm and inviting. Replace any burned-out bulbs before shooting.
Bonus: Use matching bulb temperatures throughout for consistent color.
7. Open All Doors
Interior doors should be open to show flow between spaces. This also helps the AI understand the room layout and place furniture appropriately.
Exception: Close closet doors unless the closet is a selling feature.
8. Capture Multiple Angles
Take 3-5 photos of each room from different angles. This gives you options and ensures you capture the room's best features. The AI works better with well-composed shots.
Must-have angles:
- Wide shot from corner
- Feature shot (fireplace, windows)
- Alternate corner view
9. Mind Your Reflections
Mirrors and windows can capture your reflection or equipment. Position yourself to avoid appearing in reflective surfaces, or plan to crop them out.
Trick: Shoot at an angle to mirrors rather than straight-on.
10. Shoot at Chest Height
Position your camera at about 4-5 feet high—roughly chest height. This is the natural eye level for viewing spaces and produces the most flattering perspective.
Avoid: Shooting too high (makes rooms look small) or too low (distorts proportions).
Bonus: File Format Tips
- Shoot in RAW if possible for maximum editing flexibility
- Export as high-quality JPEG for virtual staging
- Maintain original resolution—don't downsize before uploading
- Keep files under 20MB for optimal processing
The Bottom Line
Great photos lead to great virtual staging results. Taking an extra 15 minutes to properly photograph a property will pay dividends in the quality of your staged images and, ultimately, in faster sales and rentals.
Ready to Transform Your Listings?
Start your free trial with 5 credits and see the difference AI virtual staging can make for your business.
SmartStage Team
The SmartStage.AI team is dedicated to helping real estate professionals transform their listings with AI-powered virtual staging. We share insights, tips, and best practices to help you succeed.
View all articles